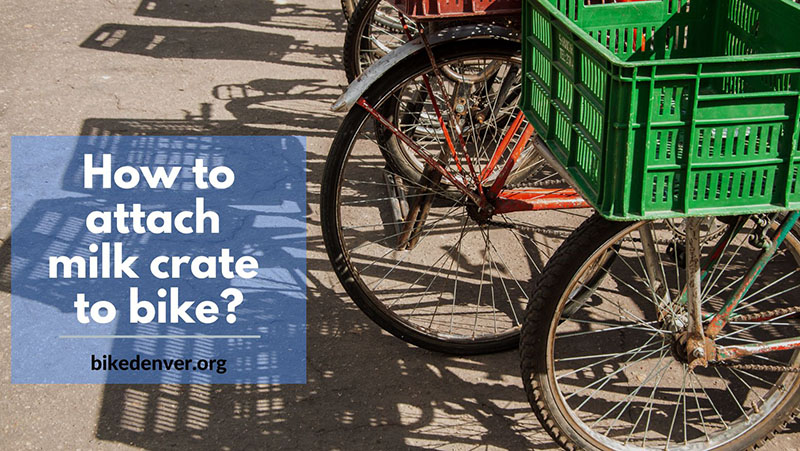
As milk has become more popular, it’s natural to see many people (particularly shippers) start attaching milk crate to bike rack for better transportation.
That might sound simple, but hold off; reports have shown numerous cases of riders breaking either the crate or the bike due to improper installation. We are certain none of our readers wants that to happen.
Hence, these guidelines are delivered to help you gain more insight into how to fasten a milk crate on a bike. Other important information tidbits are also covered to ensure your crates do not overwork or withstand loads beyond their limits.
Table of Contents
3 Methods To Mount Milk Crate on Bike
Method 1. Use Zip Ties (The Best Method)
Preparation
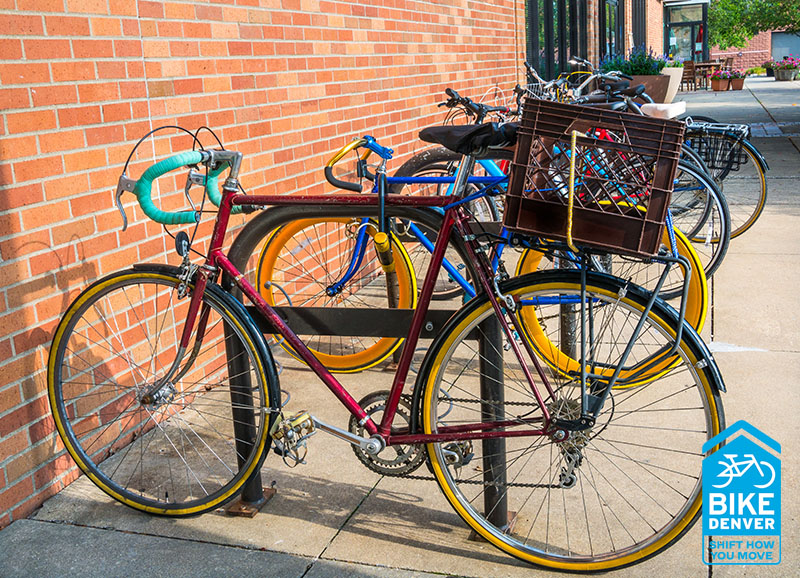
Among the three methods we will introduce, it’s the most recommended due to simple/straightforward preparation and steps. You only need three basic supplies easily found anywhere in local stores: milk crates, zip ties or cable ties (4-4, which should be about 8 inches in length), and traditional scissors.
Some people already have them handy at home. But if you need to purchase the zip ties and crates, no worries. They are quite cheap, costing $20 at best.
Now let’s see how to carry out the method!
How to Do It
Step 1. Kick-start the process by putting this milk crate on the rear rack. Check carefully to ensure proper alignment between the crates and the racks. The crate must be seated at the center for even distribution.
Plus, it’s important not to let one side hang further off the rack compared to the remaining side. Depending on your saddle position, we suggest setting the crates far from the saddle a little, which keeps you from touching or rubbing the crater’s edge.
Step 2. After that, pick up the zip ties. Use them to wrap around the metal rack and plastic crate grids. During the process, confirm that every tie is strengthened to the maximum.
Once using up all four ties, give the crates some shake. Are they unmovable and secured tightly to the bike rack? Then you are good to go!
If the crates still move, more ties are probably needed. Keep using them until you feel certain they will not come off.
Step 3. This step requires scissors. The ties must have left some spare parts; cut them off. Such a move ensures your zip ties will not interfere with the content positioned in the crates.
Congratulations! The milk crate has officially been attached to your bicycle. Simple, isn’t it?
Step 4. Give your bike some quick spins around the nearby neighborhoods. Check whether the crates are correctly fastened and will not fly off suddenly.
Method 2. Use Bungee Cords (Fast, but Only Suited to Temporary Crate Usage)
How to Do It
Another method for milk crate installation is to use bungee cords.
In most cases, purchasing two cords will get your job done. One should be about 16 inches long, while the other is a bit more than that – 20 inches.
Your task is to basically put the crates on the bike racks and feed these cords through the handles of the crates to press them down, preventing slide-off accidents. After that, pull the bungees tightly before securing them onto your bike.
And that’s it! Things are so simple that we do not even have to break them into smaller steps. But why do we NOT prefer it over Method 1?
The Pros
The benefits are clear: it’s time-efficient. Attaching the crates to the bicycles within minutes is a piece of cake, and the removal is also effortless since these cords are not your bike’s permanent fixture.
Hence, bungee methods work well if you do not always use crates. (ex: Let’s say you only want them for quick errands to some shops rather than doing so daily).
The Cons
While acknowledging its convenience, you should still consider some major negatives.
For one, the cords sliding through the crate’s top can be a huge bother if you want to fill the crates fully. These cords help indeed stabilize the crates well, yet we cannot deny that they also limit how many items you can transport on your bike and how big they can get.
Secondly, these cords’ stability lags far behind zip ties – especially when used on heavy items like crates.
Sure, your crates will not fall off the rack, but they are by no means “unmovable.” Zip ties outperform completely in this regard.
Method 3. Use Bolts and Nuts (Only Use them If You Are Certain You Will Always Transport Milk On This Bike)
The Pros and Cons: Why Is This Method Uncommon?
Bolts and nuts are clearly a huge step-up compared to both the zip ties and the bungees when it comes to stability. However, you already guessed the cons: they will likely stay permanent on your bikes, and it will take forever to remove them.
So only turn to this method if you are sure the milk crates should be installed on the bikes for a very long period of time.
How to Do It
Step 1. Placements
Put the crate in the desired position. After that, put one metal plate (or two, if you want) in the middle.
Step 2. Tighten All The Bolts
Line up your second plate with the top one (you don’t need to do so if there’s only one plate in Step 1). Place the bolt through it before threading the nut. Tighten it with your fingers until it’s strong enough to sustain the crate in place.
Step 3. Make The Finishing Touches
Use screwdrivers or wrenches to tighten them a bit more. Now your bike is ready! Customize the crates with paints to hide the nuts’ heads, if possible.
Can I Put Some Wheels On The Milk Crates?
Yes, though that means attaching them to bike racks will be quite difficult. You will need some other methods to transport them.
What Is The Maximum Weight That One Crate Can Support?
About 50 pounds. Do not exceed this number – unless you want accidents to occur.
See more: How Much Does A Bike Weigh?
Conclusion
Our insightful article has explored all there is to know about securing a milk crate bike basket onto the bicycle. The steps sound straightforward enough for even first-timers to follow, but remember not to skip the seemingly small details in the guidelines. They are the crucial cogs behind your task’s eventual success.
Of course, you should also take the crate’s capability into account. We have covered these crates’ maximum capacity and strength, so rely on these numbers to load your milk boxes with the proper amount!
For more support, clarifications, and advice, you know the usual. Please write to us or leave comments.