Electric bicycles have become a trend in recent years for numerous reasons – and independence from gas and fuel is one of them. Tight-budget customers take great delight in the convenient charging kits, saving them hours of traveling to and fro the gas station!
Nevertheless, many e-bike owners – especially first-timers and confused beginners – do not know how to charge electric bikes efficiently. Their e-bike battery systems deteriorate terribly as a result, which affects the bike’s performance to an unfathomable extent.
That pushes us to craft these detailed guidelines. Scroll down for more.
Table of Contents
How To Charge Electric Bike Battery At Home
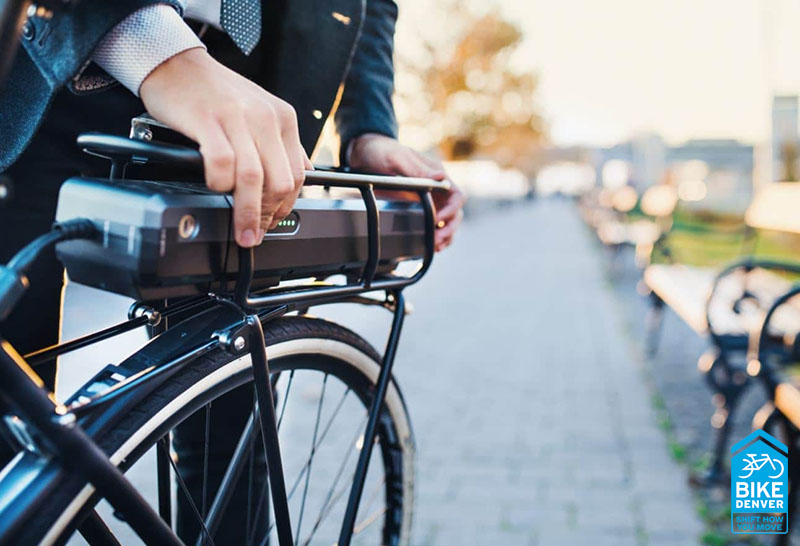
Method 1. Remove The Battery for Charging

Step 1. Turn off your battery. Release the lock to pull it off the bike.
Locate the bike’s power button and switch it off. That will deactivate your battery, making it safer to remove. Here are two possible scenarios:
- If the bike uses release keys to kick-start the battery locks, insert that key and switch it for better lock disengagement.
- If tabs or clips are used to secure the battery, disengage it by undoing them. Then slide the batteries off the bike to pull them out completely.
Some regular bikes require you to detach the seat before accessing the battery. Also, do not try to jerk or yank it – since that could hamper the battery connections.
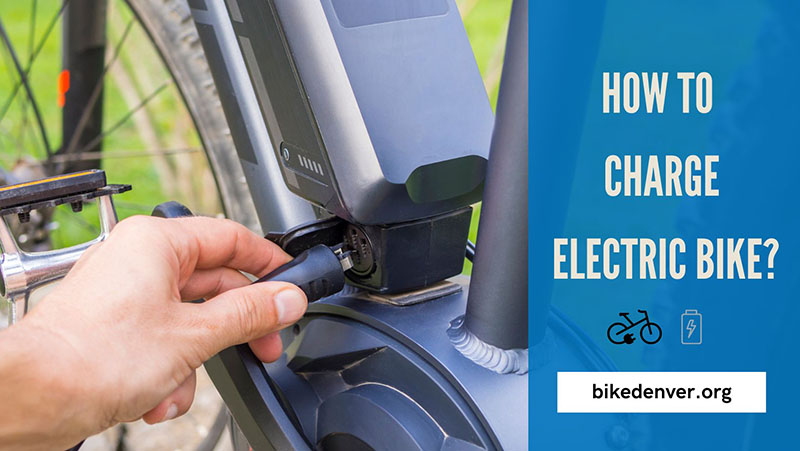
Step 2. Connect your charger adapter and power cord. Plug them into the mains outlets.
Do you see a charging adapter arriving with the bike? Take it and insert its power cord into the adapter’s slot. Once done, plug the cable into nearby electric outlets.
Remember to match the charging cable with the adapter port; only then can you power it effectively. Also, to ensure things are working, seek the green light signal often seen on the adapter.
Step 3. Plug your battery chargers into the charging port.
Put the bike’s battery on a surface as flat as possible. (Cases in point include the ground or your desk).
Next, find its charging port – usually atop or adjacent to the battery’s side. Insert the charger directly into it and wait until the charger light turns on, indicating the charging process has started.
This battery light often produces different colors across brands. Nevertheless, white and red are the most common two.
Step 4. Leave the e-bike’s battery for several hours of charging. Finally, reconnect it with the bicycle.
Bicycles with low electric batteries would demand 6 hours at best until fully charged. Let it sit attached to the charging charger till the indicator lights change colors (ex: orange to green) or turn off.
After that, disconnect the charger and the battery, plugging the latter into your bicycle when you feel ready to bring it onto the street.
One reminder: never let the charger and the battery stay connected once fully charged. Otherwise, the battery charge will overheat and degrade over time. Using the batteries before they are fully charged is also a huge no.
Method 2. Plug Into The Bicycle Directly
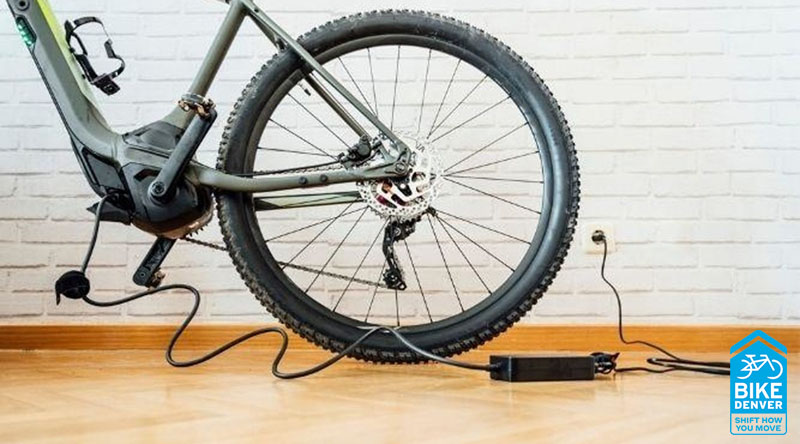
Step 1. Put your bike in a sturdy position and find its charging port.
Lean your electric vehicles against something solid (such as a wall). Another way is to activate a kickstand, balancing it upright and preventing the bike from an easy fall-down.
Next, seek for the battery’s charging port – usually built atop or adjacent to it. The port often resembles multi-pronged outlets on the wall. If you fail to identify it, search the sliding cover at the side and pull it down to expose the port.
For people using outdoor charging stations, ensure the bicycle is tightly secured on a bike rail. That way, it will never fall over.
Step 2. Insert your chargers into the battery’s port directly.
Plug the charger into the power outlet. After doing so, keep an eye on the green lights: when they come on, it means the charger has been connected successfully.
Now take the cord to insert it into the bike’s charging port. Confirm that it’s an all-in plug; otherwise, the cord will slide out!
Most e-bike chargers have white or red indicators during charging, while others do not.
Step 3. Let the bike charge fully before unplugging it.
Wait for about 3 hours (the minimum) before checking the indicator lights again. Have they changed colors or turned off? If not, be patient for another half hour and come back again. After the light changes, unplug the bike and the charger.
Remember not to disconnect the bicycle before the batteries are fully charged. Such moves only shorten the battery age!
Extra Precautions
1. During charging, never forget to consider all the potential mishaps that might occur. Always charge the bicycle in dry, well-ventilated places far from every flammable material or extreme temperature. Plus, do not leave it unattended!
If you have no choice but to charge indoors, ensure the charger is plugged into dedicated circuits not used by other appliances.
2. There’s always an instructional manual with the chargers; read it carefully. This advice might seem too obvious, but we must stress the importance of understanding how the chargers work before actually using them.
3. Follow the brand’s recommendations for voltages and periods of time for charging. Undercharging or overcharging is out of the question since it will destroy the battery life, so never stray from the brand’s guidelines.
4. Another rule of thumb is to use quality chargers. Do not hesitate to spend good money on premium products; or else, cheaper chargers only hamper the battery powers.
Also, never mix-match your chargers. Use only one charger (and it would be even better if this charger arrived with your e-bike!). Numerous documents have recounted fire and explosion accidents due to wrong chargers.
Should I Charge My Bike After Every Single Ride?
Yes. To ensure your e-bike battery level never stoops too low – and hence, put your bike in good condition – remember to plug the battery pack into the charger every time after biking.
Let it charge completely before unplugging, allowing the battery to enjoy maximum capacity. Try to turn that into your habit!
Still, we must say it again: never leave the batteries on the chargers too long after fully charged. As previously mentioned, your batteries might overheat, losing their storage capacity.
How Long Should My Ebike Charge?
The answer depends on the brand, the bike’s makes and hub motors, and the battery capacity before you plug it into the charger. Nevertheless, you can expect to wait from 3.5 to 6 hours for a full recharge.
Cases where the charging period exceeds 6 hours are extremely rare; if that happens to your bike, chances are the charger or the battery size is suffering from internal issues.
Tips of Proper Care/Battery Management to Extend Its Lifespan
1. Buy A New Battery After About 1000 Single Charges (100% Full)
When exceeding 500 charges, a typical bike battery will begin to drop some power. The time your battery lasts before it needs charging will become shorter over the years. 600 cycles will sacrifice 40% of its capacity.
Hence, battery experts suggest replacing it after approximately 1000 charges (or about 3 years) to ensure the bike’s best functions. Regardless of your charging habit and maintenance, 3 – 5 years are the battery’s prime time.
2. Store The Battery At least Half-Charge
If you want to store the e-bike longer than several weeks, only do so when the battery is at 50 to 60% of its full charge. Putting the battery away with very few electric currents will be a disaster for its overall health – not to mention, recharging a 100% dead battery only shortens its lifespan startlingly fast.
For winter (or long-time) storage, check it every month and give it a short charge when the capacity is lower than 30%.
3. Clean The Battery If It Becomes Dirty
Pick a soft cloth to wipe the battery and the electric motor whenever dust and dirt buildups invade them. For stubborn grime and stains, soak the cloth with dish soap for more cleaning power.
Once done, wipe the battery and bike using a dry and clean cloth, leaving no excess moisture on your battery cells. Only then can your bike function well – plus, it also looks much better!
4. Never Open The Battery
There’s no reason to pore them open. Do not examine or repair them – especially lithium batteries!
Most lithium-ion battery options contain lithium powder, an explosive substance that bursts upon contacting oxygen. You may burn down the entire house and hurt everyone. So, let us repeat: DON’T!
If you truly believe something is wrong with the battery, call professionals.
See more: How Fast Do Electric Bikes Go?
Conclusion
Charging a bicycle should not be difficult, and our guide has addressed all the common questions to give you a better riding experience. Nevertheless, many precaution tips are needed if you do not want accidents or injuries; tread cautiously!